This tutorial will show you a quick and easy way in creating a stunning disintegration effect in photoshop.
I created this work on Photoshop CS5 but earlier versions will work as well.
The sources:
1. The face
2. Shatter glass brushes
3. Bird brushes
4. The branch
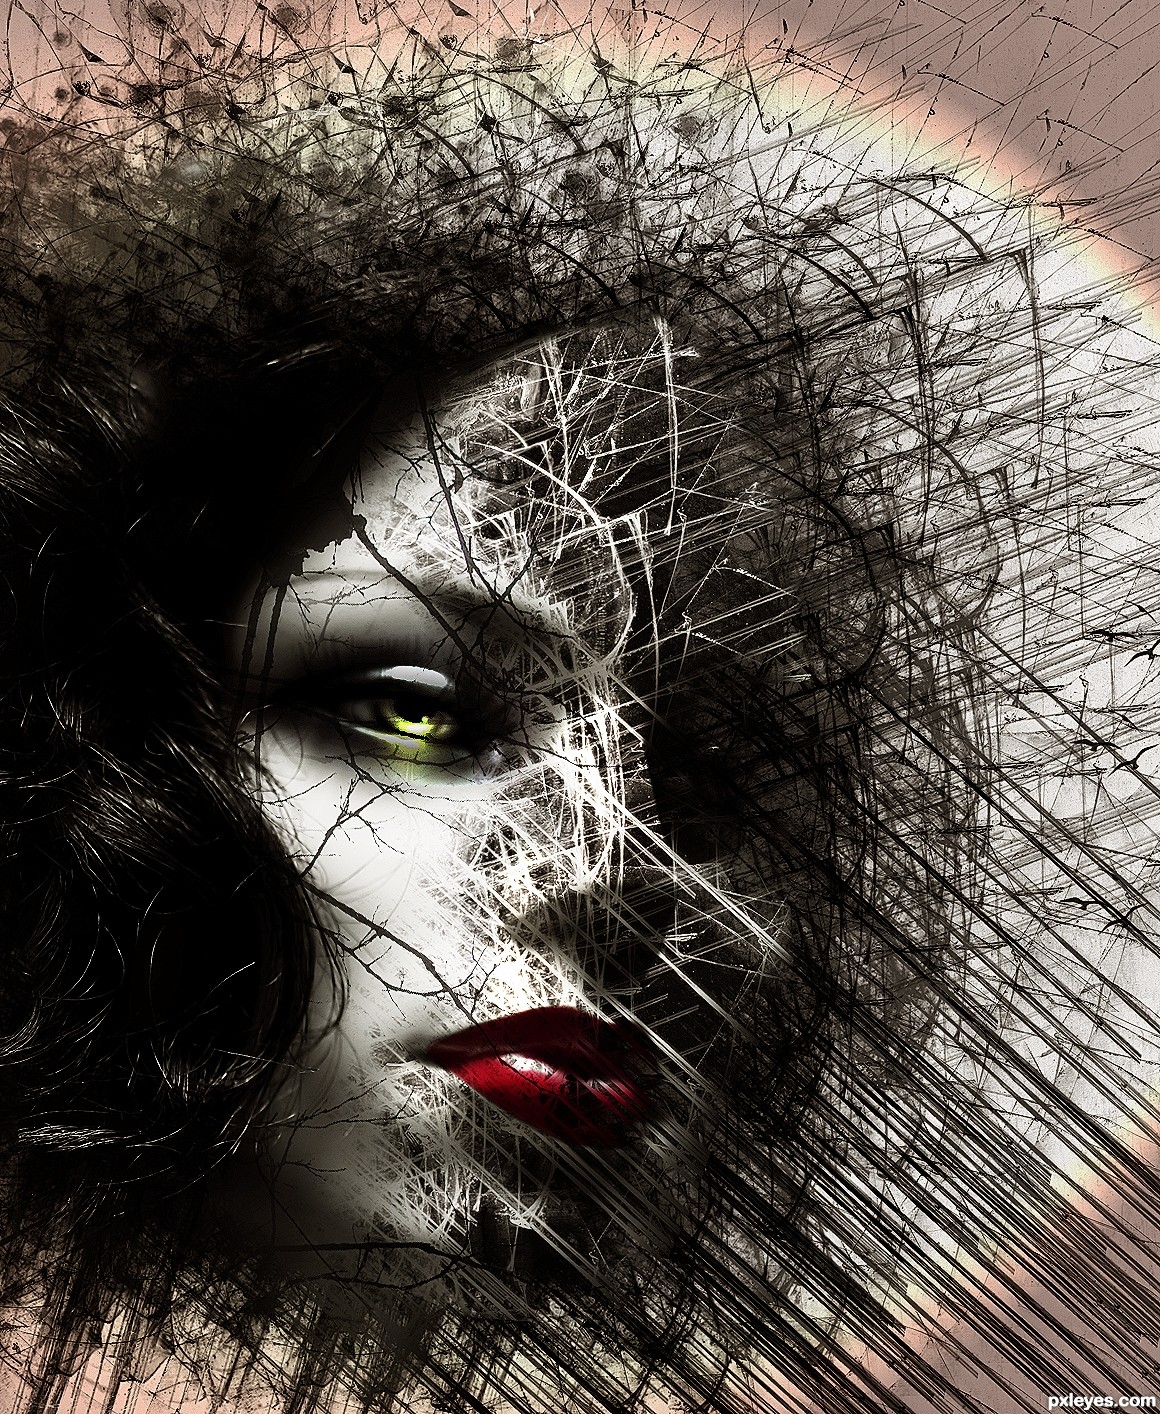
You can see the hi-res of this work here
Let's just get started!
Author:

I created this work on Photoshop CS5 but earlier versions will work as well.
The sources:
1. The face
2. Shatter glass brushes
3. Bird brushes
4. The branch
You can see the hi-res of this work here
Let's just get started!
End result:

Author:
Views: 118771
Score: 9.33 / 10
Author earned: $40
Step 1
First of all, go to file and then hit new to create a new canvas (Ctrl+N) . This new canvas will be the background layer in the layers palette
Step 2
Now duplicate the background layer (Ctrl+J). With the duplication layer (background copy) selected, go to Filter > Render > Lightning effect. See the picture for the details of lightning effect setting.
Step 3
Next , set the blending of the background copy layer to normal at 58% opacity after that duplicate it (Ctrl+J). Now we have background copy 2 layer. Set the blending of the background copy 2 layer to color dodge at 100% opacity.
Step 4
Continue to create a new layer (Shift+Ctrl+N) and name the new layer shape 1. Then, go to Brush tool (B) in tools palette. Choose shatter glass brush and paint a shape like mine. ( See the picture below ).
Step 5
Arrange the position of the shape 1 as shown in picture below:
Step 6
Next step is to duplicate the shape 1 layer three times and then place the three duplicated layers below it in the layers palette. Rearrange the position of each where needed. Set the shape1 copy layer to normal blending at 100% opacity, while the shape 1 copy 2 and the shape 1 copy 3 layer are set to multiply blending at 78% opacity. See the image below..
Step 7
Now open the face image. We will cut out the face. To achieve this, select Pen tool (P) in tool palette. Continue to trace the face by clicking new anchor points as you go, these show as small squares on your screen. Proceed with tracing the face and work your way to meet the first anchor and close the path. After that, right click on the closed path. When the pop up window for the path execution comes up, choose make selection. Finally inverse the selection (Shift+Ctrl+I) and hit Del to clear the background.
Step 8
Add the face to the canvas. It will be a new layer and name it Face in layers palette.
Step 9
Now it’s time to crate the disintegration effect to the face. We will use Clipping Mask to achieve this. To create a Clipping Mask, first make sure the shape 1 layer is directly under the face layer that we want to be clipped in the Layers palette . Hold down Alt and click the line between the two layers in the Layers palette. The cursor changes to a symbol. Click the mouse. You will see a small arrow pointing downward next to the face layer. This small arrow is the indication of a layer clipped mask.
Step 10
In this step we will add Gradient map. Go to Layer > new adjustment layer > gradient map.
Step 11
Now set the blending of the gradient map layer to overlay at 90 % opacity.
Step 12
I wanted to give some light to the eye of the face. To create the light, create a new layer (Shift+Ctrl+N) and name the new layer Light. Now select rectangular marquee tool to make a selection around the eye. Fill the selection (Shift+F5) with black color. Then, go to Filter > render > lens flare. Finally set the blending of the light layer to color dodge at 100% opacity. Remember to mask some area round the face to hide unnecessary light. Try to make the light just focus on the eye.
Step 13
To give more dramatic effect, I added the branch image. I duplicated it into some layers and arranged the duplicated layers in the positions where needed. Remember to re-size them and set the blending to multiply at around 50-100% opacity.
Step 14
In this last step, I added photo filter (Layer > new adjustment layer > Photo filter). Set the photo filter layer to normal at 30% opacity.Step 15
here is the result. Thank you for visiting this tutorial. Happy photoshoping...
Walang komento:
Mag-post ng isang Komento