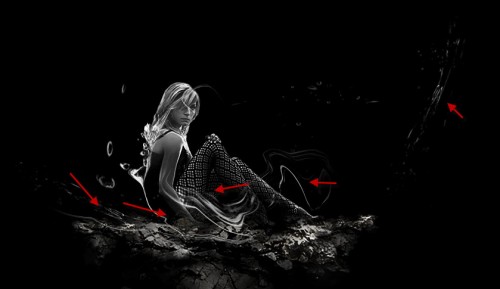
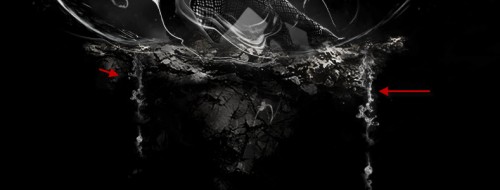
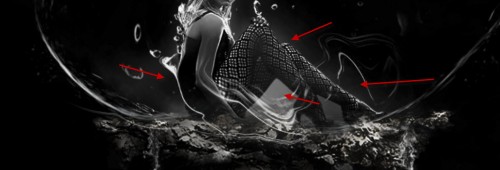
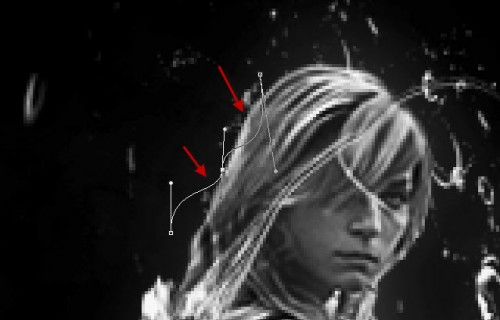
Tutorial Resources
Step 1: Create a New Image File
Let’s start by creating a new image file, go to the Menu bar and
click File > New, and then input the following values on their
respective fields:
- Presets: International Paper
- Size: A4
- Width: 3508 pixels
- Height: 2480 pixels
- Resolution: 300pixels/inch
- Color Mode: RGB Color; 8 bit
- Background Contents: Transparent
Step 2: Create the Background
In this Step, we will be creating the land and the sky of our
background. To start, let’s open the stock image: “Sand Road 03” by
SuperStarStock. Next, activate the Move tool by pressing V on your
keyboard; left-click the image while the Move tool (V) is activated and
then drag that image to our canvas.
Move and position it in this manner:
Next, activate the Transform tool by pressing Ctrl/Cmd + T and then
you will see a box with small boxes around our image. Transform the
photo by following the instructions shown below:
The result of that should be similar to this:
Now that we’re done with the field, let’s now add the sky. Open the
stock image: “premade20” by nightfatestock. Once open, activate the
Rectangular Marquee Tool (M) and create a selection area around the sky.
See images below:
The result of that should be similar to this:
Activate the Move tool (V) and drag the selected area to our canvas.
Position this cut layer over the field layer we put earlier so that it
would appear over the clouds of the field layer.
On the layer window, it should look like this:
On the canvas, it should look like this:
Next, we will have to resize the sky to make it blend seamlessly with
our field. To do that, activate the Transform tool (Ctrl/Cmd + T) and
then resize the sky as shown on the image below:
The result of that should be similar to this:
Step 3: Enhance the light of the Background
Now, we will be creating layers which we would be brushing in some
light and shadow to enhance the look and feel of the background. To
start, let’s create a new layer on top of the field and sky layer by
pressing Ctrl/Cmd + Shift + N while the sky layer is selected (this way
the new layer will be created on top of the sky layer, thus on top of
all the layers). Once its box comes up, input “Lighten” on the name
field.
Activate the Brush tool (B) but before we start, make sure that the
active Brushes are the default brushes. The default Photoshop brushes
are shown on the image below, if that’s not what you see, then follow
the instructions below:
Right click the canvas while a layer is selected and while the Brush
tool (B) is activated and then click on the button highlighted below:
Then click on “Reset Brushes” from the contextual menu.
Now, that that is done input the following settings for our Brush tool (B):
- Brush size: 800px
- Hardness: 0%
- Opacity: 15%
- Flow: 100%
- #: fff7bf
Note: The “#” means the color of the brush. #: fff7bf is the somewhat yellowish. To change the brush’s color, do the following:
After clicking the Foreground tool, the Color Picker box would open. Once open, input the following on the # space:
Once you’re done, we can now proceed to painting.
The result:
Next, create another layer (Ctrl/Cmd + Shift + N) and put “Darken” on the name field.
Activate the Brush tool (B) and input the following:
- Brush size: 1500 px
- Hardness: 0%
- Opacity: 25%
- Flow: 100%
- #: 000000
Now, let’s start painting:
The result:
Create another layer again (Ctrl/Cmd + Shift + N) and then put “Darken 2” on the name field.
Activate the Brush tool (B) and input the following:
- Brush size: 1200px
- Hardness: 0%
- Opacity: 25%
- Flow: 100%
- #: 000000
Let’s paint!
The result of that should be similar to this:
Once, you’re done, select all the layers that we’ve created from the
last 2 Steps and then press Ctrl/Cmd + G to group them. Grouping layers
will avoid confusion in the later Steps of the tutorial.
Rename this group then to “Background”. To rename a group, simply
double-click on the words “Group” on the layer window to activate the
text box. Once the text box has been activated, you may now rename it.
Step 3: Create the Floating House
In this layer, we will be creating the Floating house on top of this
vast field. To start, let’s open the stock image: 1293783_39442557. Once
open, activate the Magnetic Lasso Tool. We will need this to create a
selection area around the house.
The Magnetic lasso tool can be found here:
Once you’ve got the tool open, start using the Magnetic lasso tool around the house shown below:
Once you’ve made the selection area around it, activate the Move tool (V) and drag that house to our canvas.
Move and position the house on the area shown on the image below:
Now, activate the Transform tool (Ctrl/Cmd + T) and once it is
activated, right click on the canvas to bring up the contextual menu.
This is the contextual menu:
Click on “Flip Horizontal”
Once you’ve done that, the house will now look like this:
Now, let’s resize this house. Activate the Transform tool (Ctrl/Cmd + T) and resize it as shown below:
Next, activate the Transform tool (Ctrl/Cmd + T) once again and rotate the house to the angle shown below:
The result of that should be similar to this:
Now, we will correct the light on the house. To start, activate the Burn tool (O).
Once activated, input the following settings for it:
- Brush: 125px
- Hardness: 0%
- Range: Midtones
- Exposure: 25%
Now, that you’re ready, let’s go and “burn” the house!
The result:
Step 4: Add the ground beneath the house
Now, we will make the floating house more realistic by adding the
uprooted ground beneath it. To start, open the stock image: “Little
Island” by mindCollision stock. Activate the Magnetic Lasso Tool (L) and
use it to select a certain part of the rock. See image below:
When you’re done, activate the Move tool (V) and drag that piece of
rock to our canvas. Put this layer below the house layer so that it
wouldn’t appear in front of it. Position the rock on our canvas, in this
position:
Now that the piece of rock is on our canvas, activate the Transform
tool (Ctrl/Cmd + T) and right click on the canvas to bring out the
contextual menu. Once the menu is open, click on “Flip Vertical”.
The result:
Next, activate the contextual menu of the Transform tool (Ctrl/Cmd + T) once again and click on “Flip Horizontal”.
Now, that we’ve fixed the angles, let us now scale this rock to the size as shown below:
Activate the Eraser tool (E) because we would need to make the rock look more realistic.
Before anything else, input the following for the Eraser tool (E):
- Brush size: 40px
- Hardness: 100%
- Opacity: 100%
- Flow: 100%
Once you’re done, let’s now start erasing:
The result of that should be similar to this:
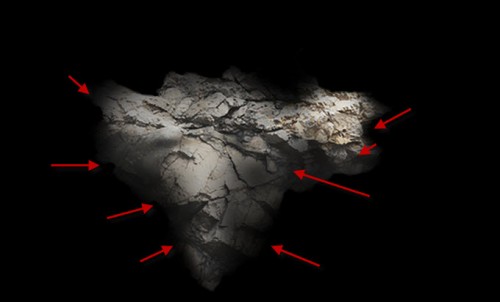
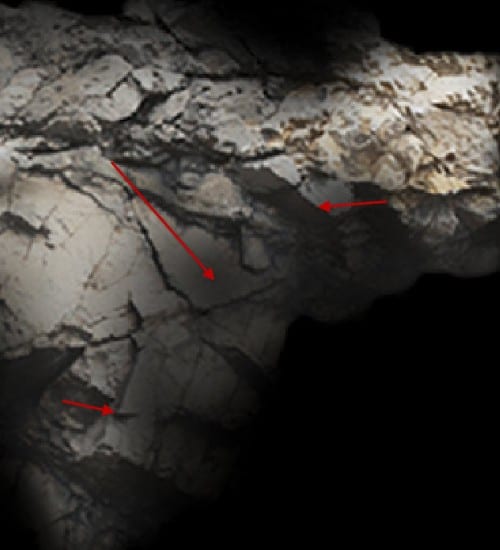
To make it more realistic, we will need to darken some areas of these
rocks. To do that, activate the Burn tool (O) and input the following:
- Brush size: 125px
- Hardness: 0%
- Range: Midtones
- Exposure: 25%
Burn the region shown below:
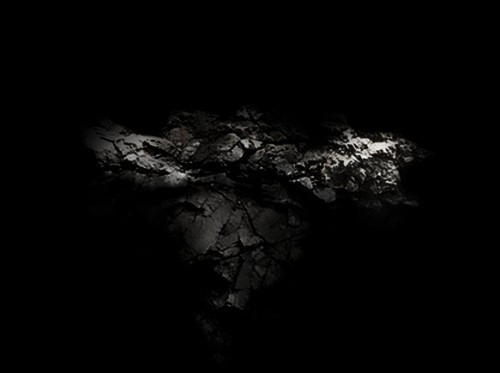
The result should be similar to this:
Now, that we’re done with that, let’s now add some falling debris to
make the house look like it has been on the air only for a short time.
Let’s start by creating a new layer (Ctrl/Cmd + Shift + N) above the ground/rock layer. Name this layer: “Falling Debris 1”.
Next, activate the Brush tool (B) and then right click on the canvas
to open the Brush tool’s contextual menu and then do the following
Steps:
Once you’ve clicked on “Load Brushes”, locate the brush set: “Winter
snow flake brushes PS7” by Keepwaiting from the directory on which
you’ve saved them. It is recommended, however, to put these brushes on
the following directory to avoid confusion: Adobe Photoshop > Presets
> Brushes.
Once you’ve found it, just click on it and then press OK and it will
now appear on your Brush tool’s contextual menu once you right click on
the canvas.
Now, let’s choose a brush. Choose the brush shown below:
Input the following brush settings:
- Brush size: 150px
- Hardness: Default
- Opacity: 100%
- Flow: 100%
- #: 000000
Let’s paint!
The result:
Let’s add some smaller debris. Activate the Brush tool (B) once
again, we’ll use the same brush set and the same brush, but use the
following settings now:
- Brush size: 150px
- Hardness: Default
- Opacity: 100%
- Flow: 100%
- #: 000000
The result:
Group these layers together with the house. Name this group: “House”.
Step 5: Create the Vignette
Now, we will learn how to create a vignette which will help enhance the focus on our subject.
To start, go to the Menu bar and click on File > New and use the
same settings we used to create our canvas. (Refer to Step 1).
Take note, the background contents should be: WHITE
Once it has been created, go to Filter > Distort > Lens Correction. Find the tab Vignette and use these settings:
- Vignette amount: -100
- Midpoint: +50
Now that that’s done, drag the vignette to our canvas using the Move
tool (V) and put it on top of all the layers that we’ve created, and
then set the following:
- Blending Mode: Multiply
- Opacity: 40%
- Flow: 100%
To change the Blending mode, simply click on Normal from the layer
window and it will automatically bring up the list of Blending modes
available; choose “Multiply”.
With the vignette, the image should now look like this:
Step 6: Enhance the Image’s Color
Now, let’s enhance the overall color of our image. To start, let’s
create a Solid Color adjustment layer. To create that, click on the
“Create New Fill/Adjustment layer button”.
After clicking on that, the contextual menu would open. Once open, click on Solid Color from the menu.
Once the Solid Color box opens, input the following on the # box:
Then, use the following settings for it:
- Blending mode: Exclusion
- Opacity: 50%
Next, let’s adjust the Color Balance; from the Create New Fill/Adjustment layer button, choose Color Balance from the menu:
Once it opens, input the following:
- Color Levels: -17, 6, 25
- Tone Balance: Midtones
- Preserve Luminosity: Check
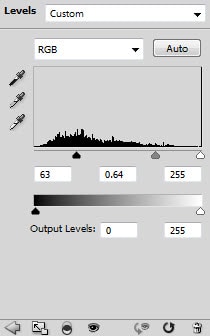
Next, let’s create a Levels adjustment layer, still from the Create New Fill/Adjustment layer button.
Once it opens, input the following:
- Channel: Red
- Input levels: 15, 1.00, 255
- Channel: Green
- Input levels: 7, 1.00, 255
- Channel: Blue
- Input levels: 15, 1.00, 255
The image should now be similar to this:
Next, let’s create another Solid Color adjustment layer. This time, input the following:
- Blending Mode: Soft Light
- Opacity: 30%
Next, let’s create a Gradient Map adjustment layer.
Once it opens, choose the following gradient:
After that, change its settings to the following:
- Blending Mode: Luminosity
- Opacity: 60%
Next, let’s create a Channel Mixer adjustment layer.
Once it opens, input the following:
- Preset: Custom
- Output Channel: Gray
- Source Channels
- Red: 0%
- Green: +100%
- Blue: 0%
- Constant: 0%
- Monochrome: Check
Use the following Blending mode: Darken
Next, let’s create another Solid Color adjustment layer.
- Blending Mode: Soft Light
- Opacity: 10%
Next, let’s create a Photo Filter adjustment layer.
Choose the following:
Finally, let’s create an Exposure adjustment layer.
- Exposure: +0.24
- Offset: +0.0020
- Gamma Correction: 1.04
Final Results

